

Secure evidence
Attachments, Screenshots, and Sensitive Information
Attachments can make troubleshooting faster, but they should contain only the customer and system information needed for the specific ticket.
Production address
https://helpdesk.dsesecurity.com/
Confirm HTTPS and the exact domain before entering account or ticket information.
Visual walkthrough
Open any visual for a full-size reference
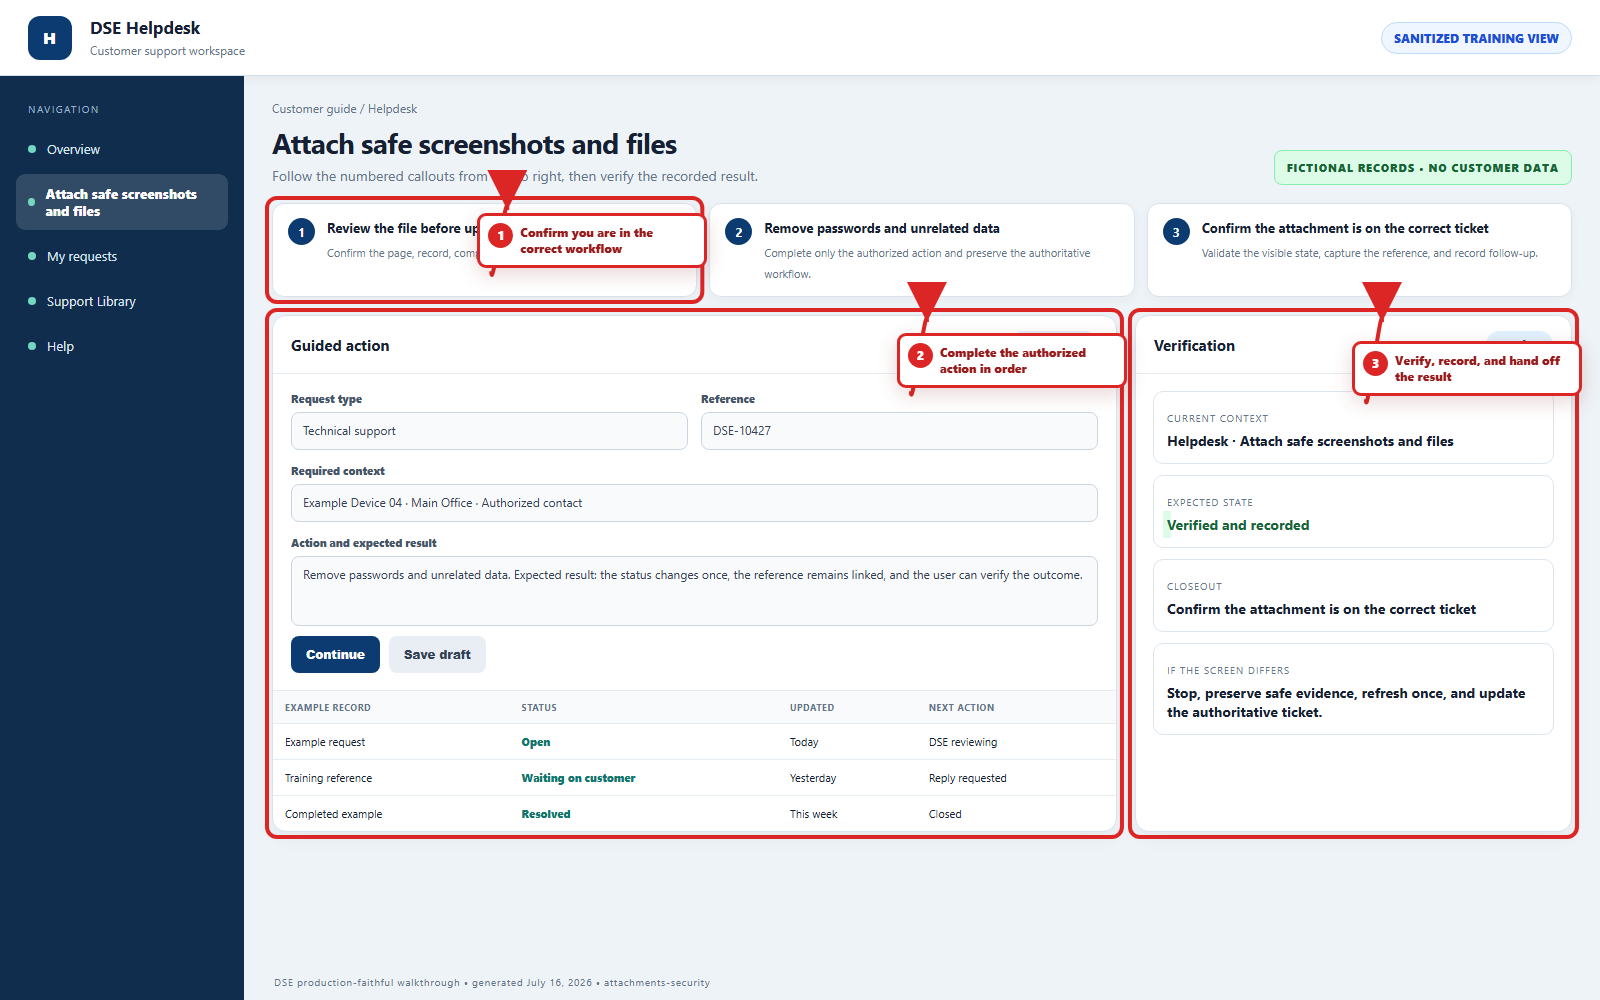
The annotated screenshot uses numbered red boxes and arrows. Read callouts 1, 2, and 3 in order, then return to the written steps below for the complete procedure.
 Open full size
 Open full size
 Open full size
1
Workflow section 1 of 3
Before attaching a file
-
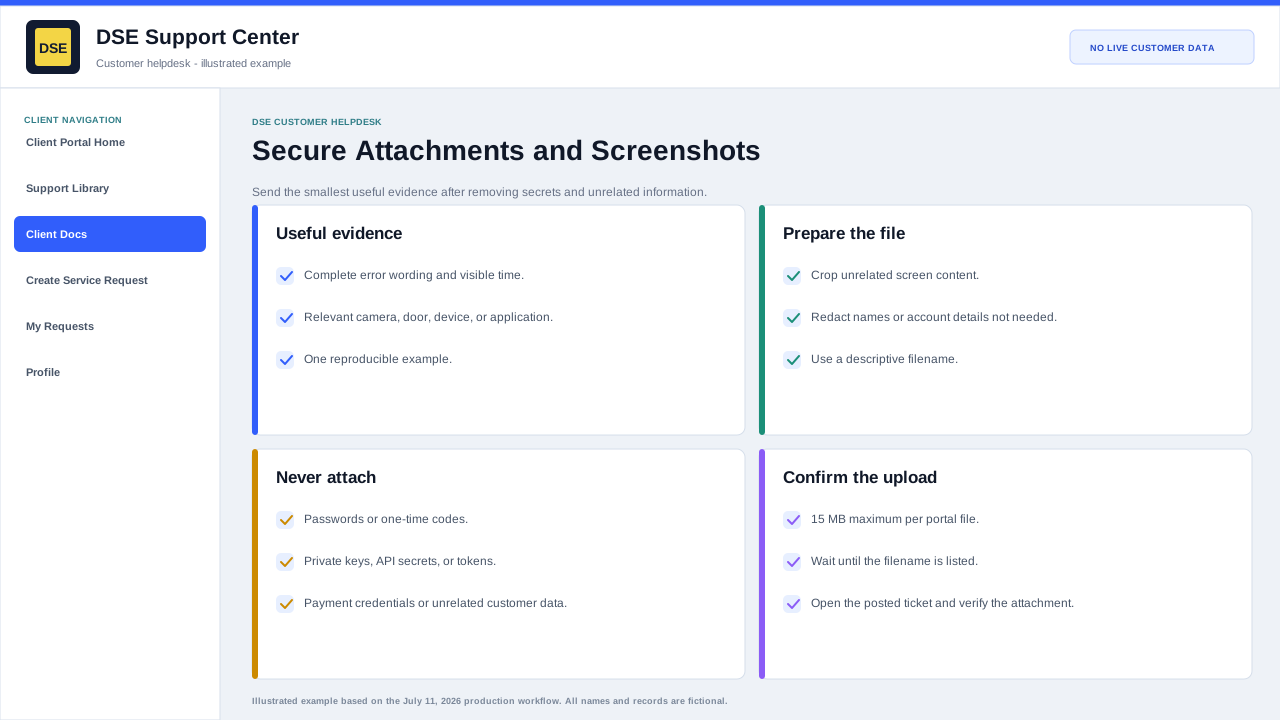
Confirm the file belongs to the same customer, site, and ticket.
-
Crop or redact unrelated people, customers, browser tabs, email addresses, IP details, account numbers, and desktop content.
-
Never attach passwords, one-time codes, private keys, recovery codes, API secrets, enrollment tokens, or unredacted credential screens.
-
Use the smallest useful file and a descriptive filename.
-
The production portal maximum is 15 MB per file; email systems can impose a lower limit.
2
Workflow section 2 of 3
Useful evidence
-
A screenshot with the complete error message and visible time.
-
A device or panel photo that includes the relevant label or indicator without exposing credentials.
-
An example event time, camera name, door, user, workstation, or transaction that DSE can reproduce.
-
A short log excerpt around the failure after secrets and unrelated data are removed.
-
A description of what was happening immediately before and after the evidence was captured.
3
Workflow section 3 of 3
Finish and verify the customer action
-
Wait for the confirmation page, updated conversation, email, or account message before repeating the action.
-
Confirm the customer, company, site, DSE-###### ticket, and visible status are the ones you intended.
-
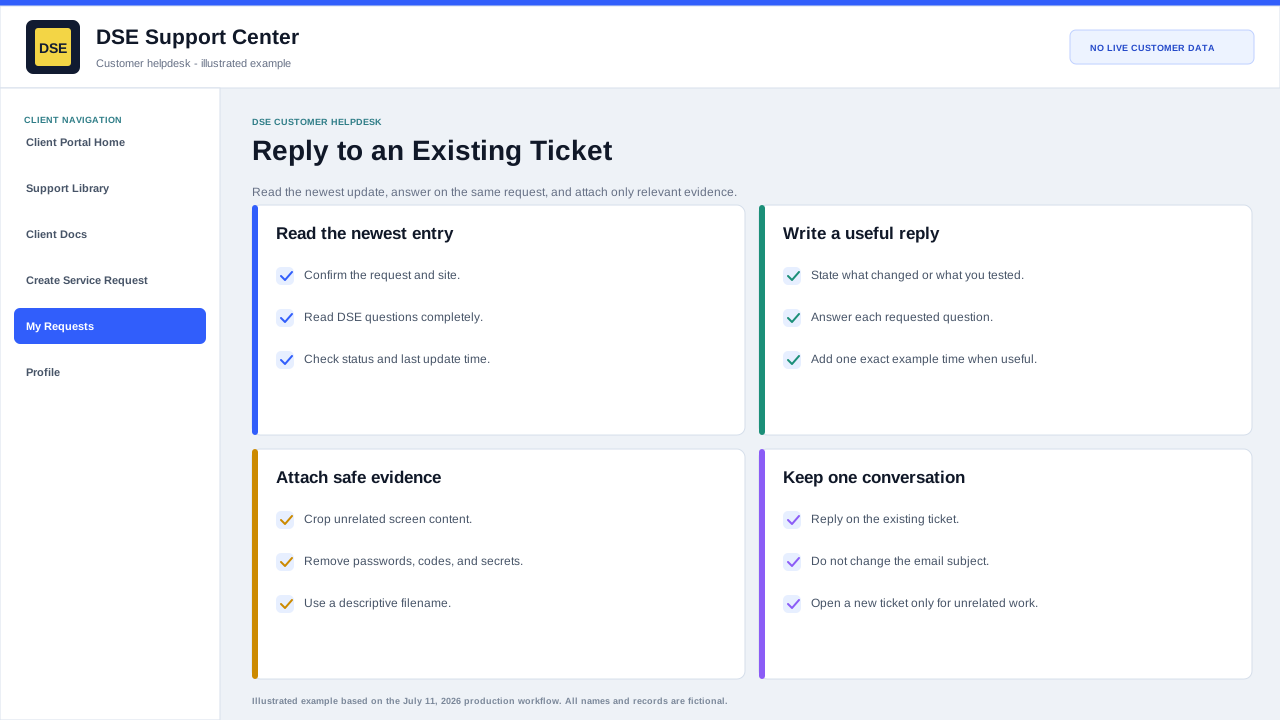
Save the confirmation or reply on the same ticket when more information is needed.
-
Contact DSE immediately if account or ticket visibility includes unrelated customer information.
Final verification
Before you leave this guide
- Confirm context. Recheck the DSE domain, signed-in account, company or site, ticket number, device, and request type shown on screen.
- Confirm the result. Perform one harmless verification and make sure the visible status matches what you expected.
- Keep the reference. Save the DSE-###### ticket number, confirmation, or other safe reference needed to continue the same conversation.
- Stop on a mismatch. Do not repeat a high-impact action. Preserve a safe screenshot, note the time and exact error, refresh once, and update or open the correct DSE ticket.
Content owner: DSE Service Operations. Production reviewed July 16, 2026. Examples and visuals are customer-safe and use fictional data.