

Video support
Camera and Video Issue Checklist
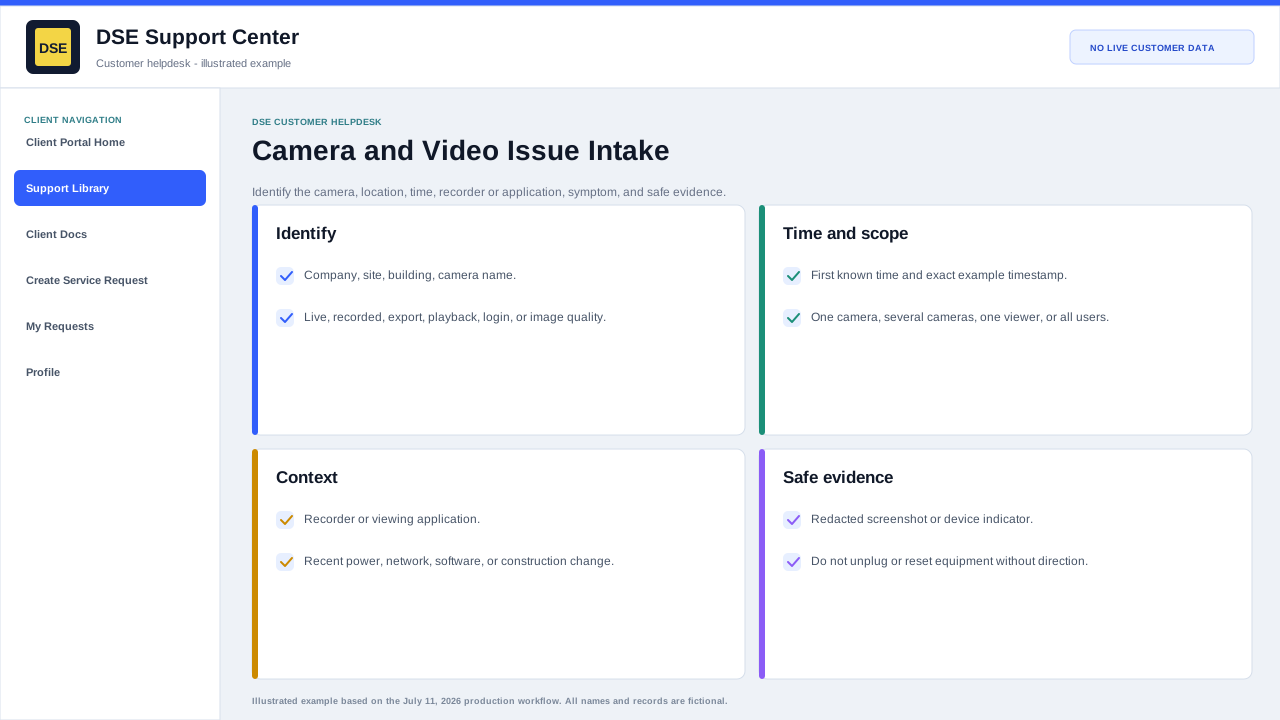
Provide camera identity, location, timing, recorder or application context, and the exact viewing or recording symptom so DSE can begin with the right evidence.
Production address
https://helpdesk.dsesecurity.com/
Confirm HTTPS and the exact domain before entering account or ticket information.
Visual walkthrough
Open any visual for a full-size reference
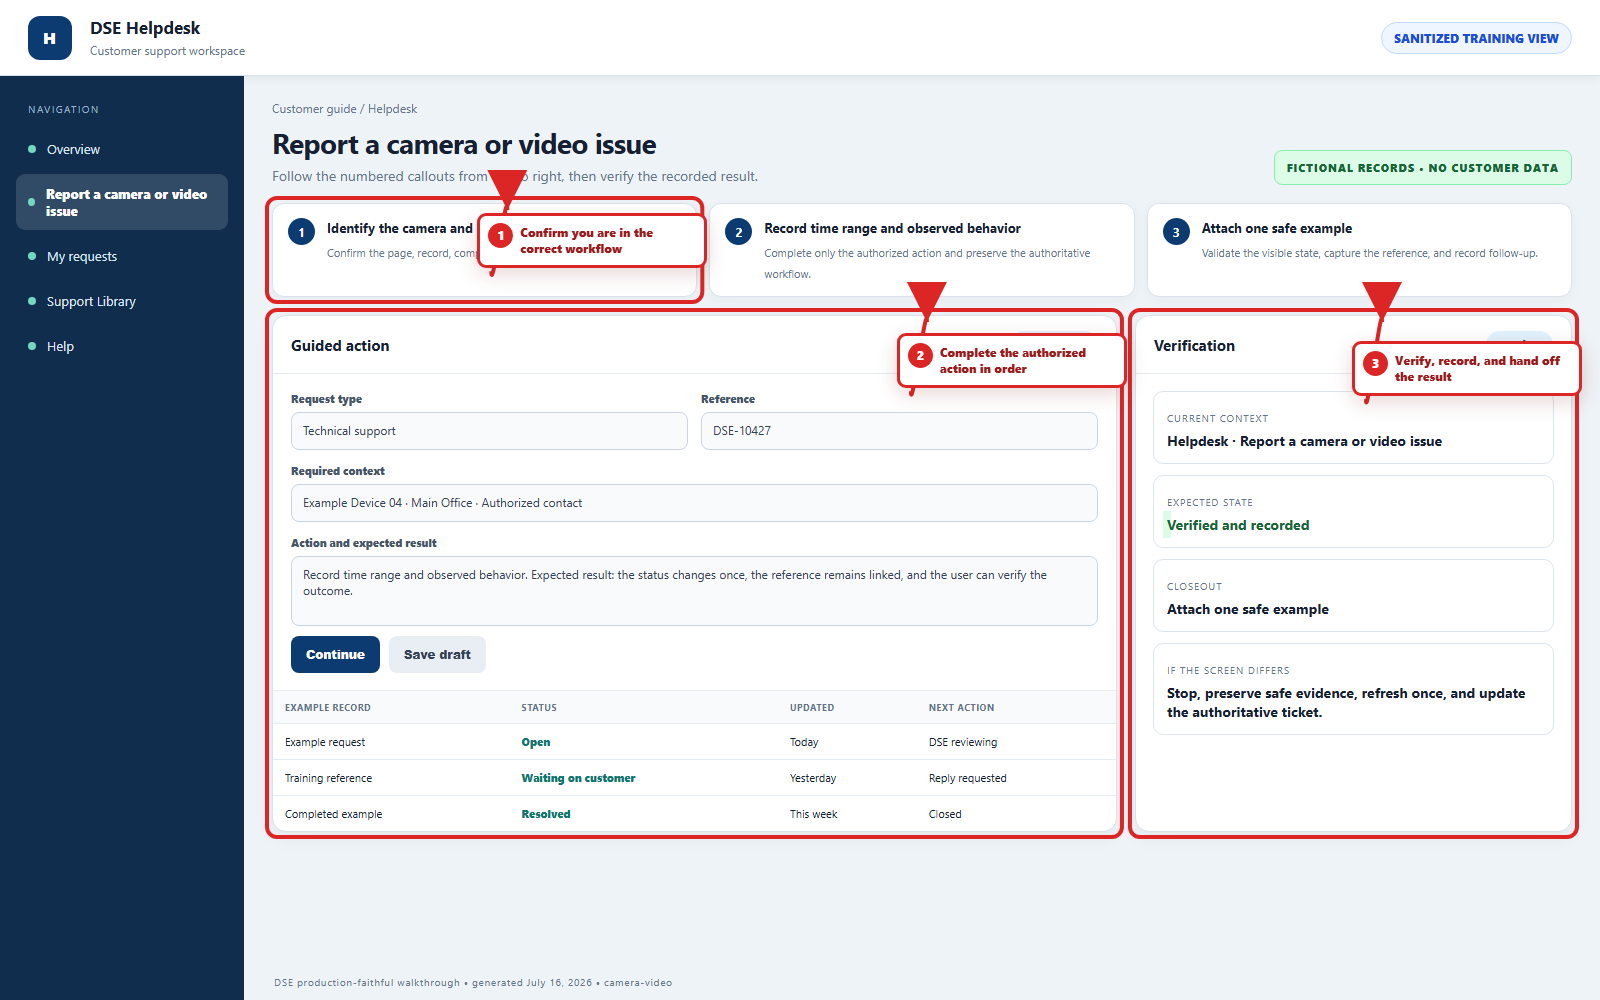
The annotated screenshot uses numbered red boxes and arrows. Read callouts 1, 2, and 3 in order, then return to the written steps below for the complete procedure.
 Open full size
 Open full size
 Open full size
1
Workflow section 1 of 3
Include these details
-
Company, site, building, floor, and camera name or number.
-
Whether the problem affects live video, recorded video, export, playback, login, image quality, motion, or one viewing station.
-
The first known time and at least one exact example timestamp with timezone.
-
Whether one camera, a group, one recorder, one user, or the whole site is affected.
-
Any power, network, construction, weather, software, password, or equipment changes near the start time.
2
Workflow section 2 of 3
Safe checks before submitting
-
Confirm the viewing device has normal network access and the application is not paused on an old image.
-
Try another authorized camera or workstation to narrow the scope.
-
Record visible indicators without unplugging, rebooting, resetting, or moving security equipment unless DSE directs you.
-
Attach a redacted screenshot and note the application, device, and browser version when relevant.
-
Do not include recorded video of unrelated people unless it is necessary and authorized for the request.
3
Workflow section 3 of 3
Finish the troubleshooting intake
-
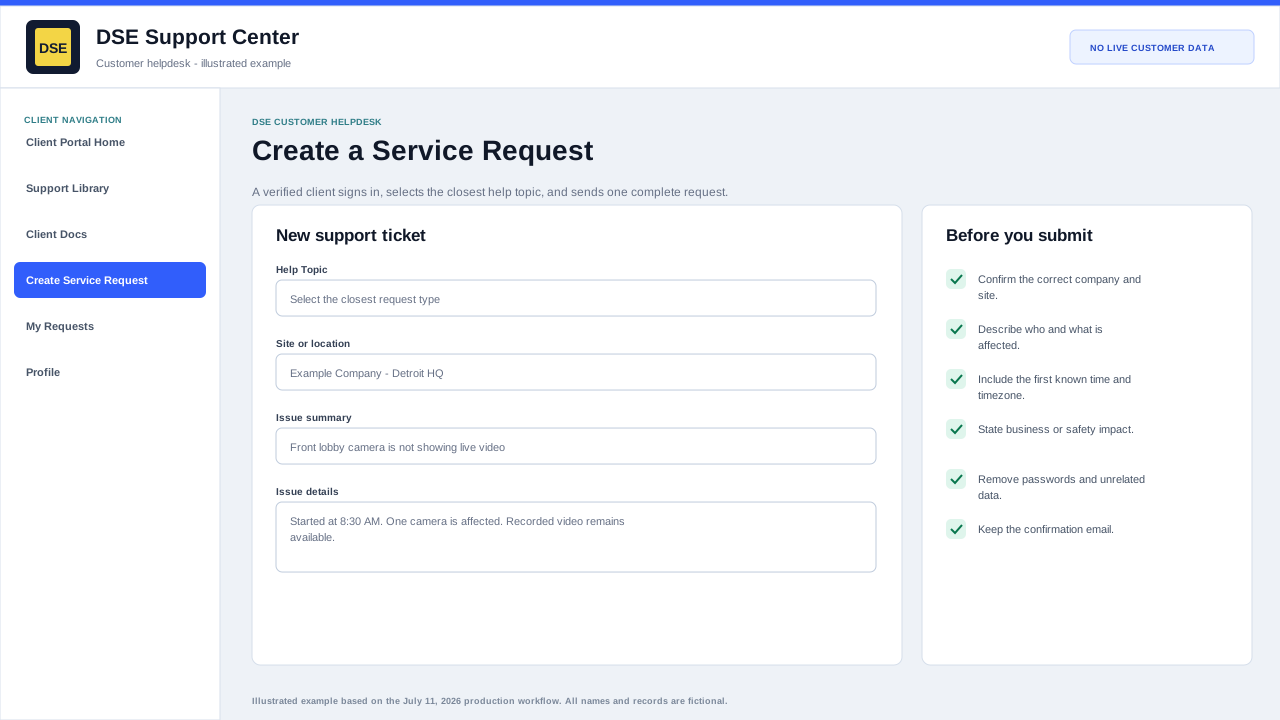
Review the site, device, user, example time, scope, impact, and safe checks for accuracy.
-
Remove secrets and unrelated customer information from every note, screenshot, photo, and attachment.
-
Submit one complete request and keep the DSE-###### confirmation number.
-
Reply on that ticket with meaningful changes instead of opening a duplicate request.
Final verification
Before you leave this guide
- Confirm context. Recheck the DSE domain, signed-in account, company or site, ticket number, device, and request type shown on screen.
- Confirm the result. Perform one harmless verification and make sure the visible status matches what you expected.
- Keep the reference. Save the DSE-###### ticket number, confirmation, or other safe reference needed to continue the same conversation.
- Stop on a mismatch. Do not repeat a high-impact action. Preserve a safe screenshot, note the time and exact error, refresh once, and update or open the correct DSE ticket.
Content owner: DSE Service Operations. Production reviewed July 16, 2026. Examples and visuals are customer-safe and use fictional data.