

Remote support
Prepare for and Participate in a DSE Remote Session
Prepare the affected computer, verify the support request, protect private information, and understand the display, protected-key, clipboard, full-screen, and session controls used by an authorized DSE technician.
Production address
https://helpdesk.dsesecurity.com/
Confirm HTTPS and the exact domain before entering account or ticket information.
Visual walkthrough
Open any visual for a full-size reference
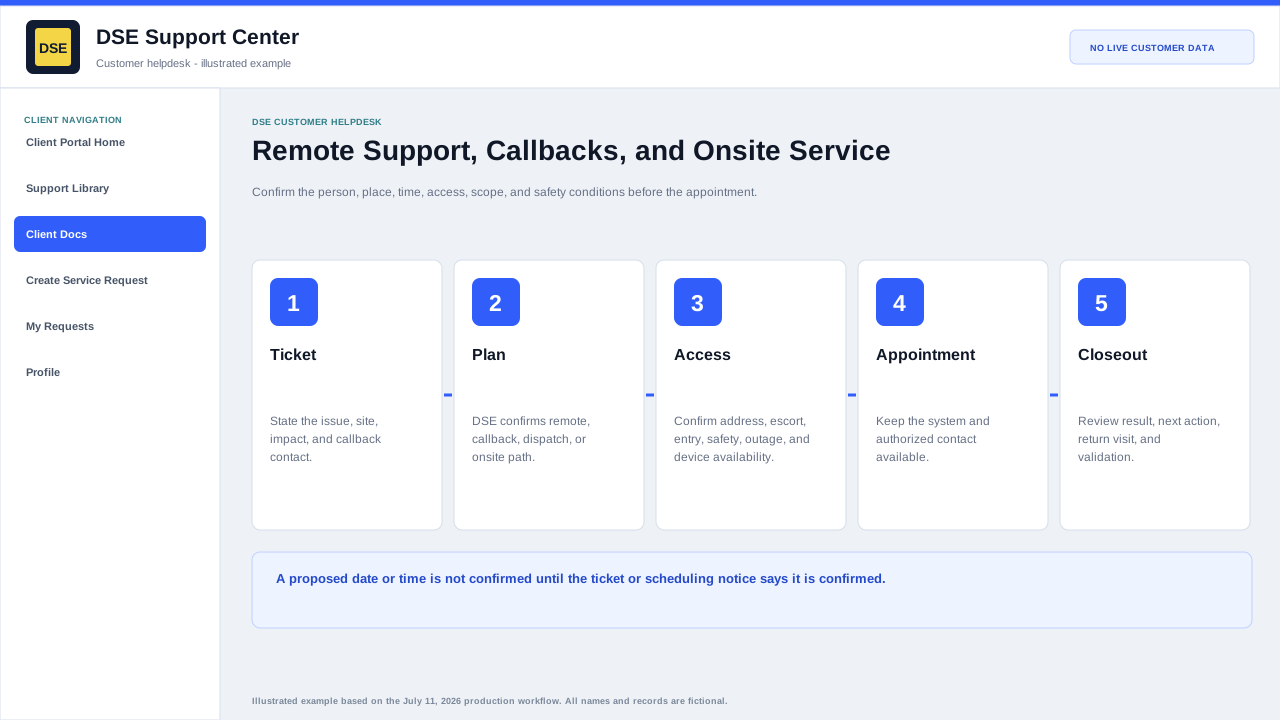
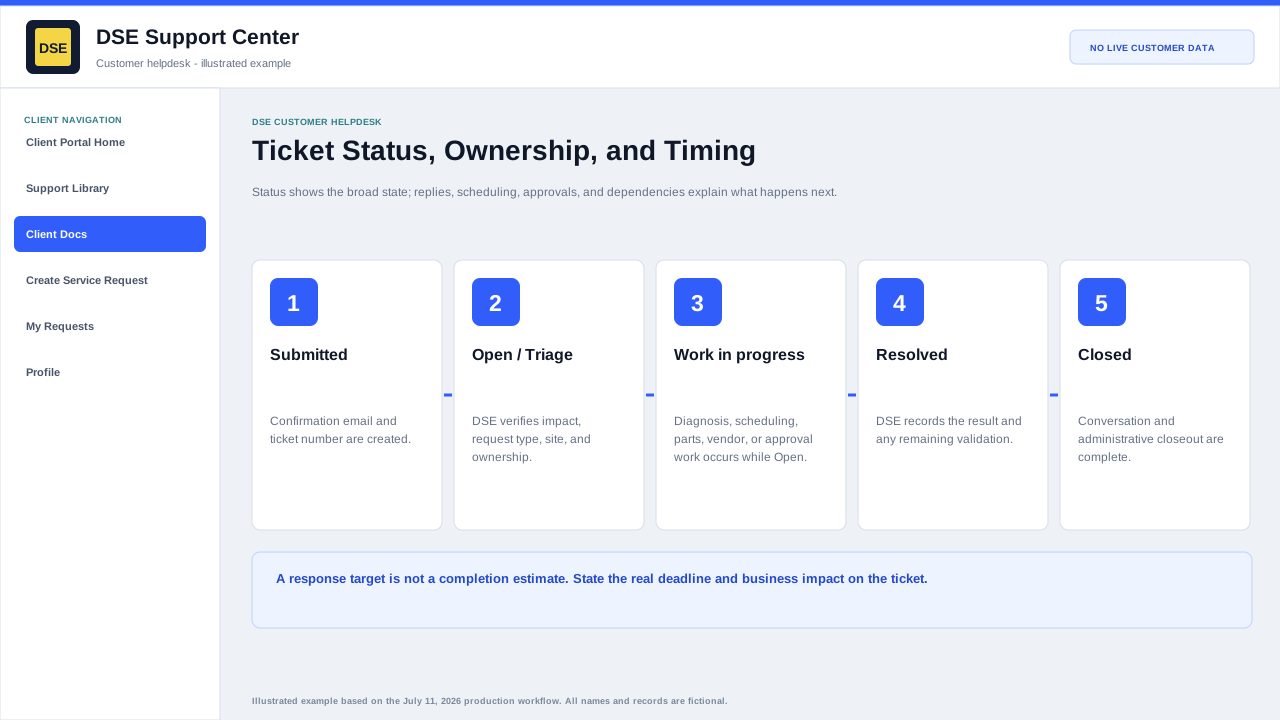
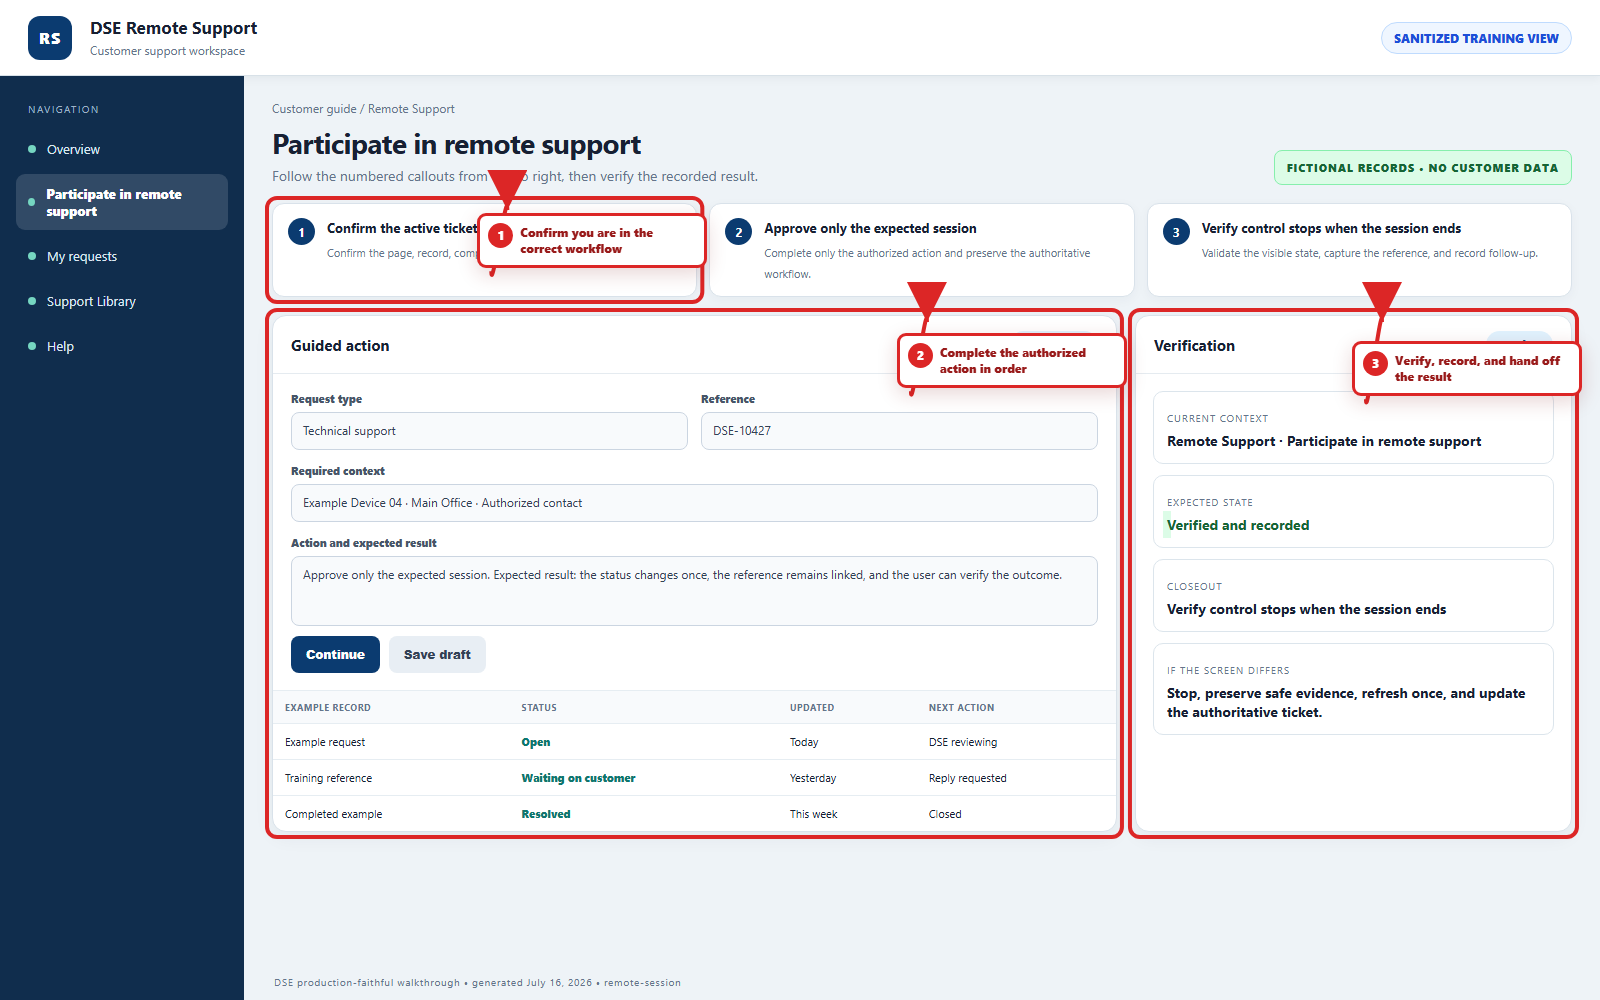
The annotated screenshot uses numbered red boxes and arrows. Read callouts 1, 2, and 3 in order, then return to the written steps below for the complete procedure.
 Open full size
 Open full size
 Open full size
1
Workflow section 1 of 6
Confirm the request and appointment
-
Open the existing DSE ticket and confirm the computer, user, site, issue, technician contact, and planned time.
-
Tell DSE whether the session will be attended by a customer or may continue while the computer is locked or signed out.
-
Save open work and identify applications that must remain available or must not be closed.
-
Arrange an authorized person who can answer questions, approve disruption, and complete validation.
2
Workflow section 2 of 6
Prepare the desktop safely
-
Close unrelated customer records, email, messaging, finance, password, and personal windows.
-
Remove sensitive text from the local clipboard and disconnect unneeded removable media.
-
Keep the affected application, exact error, and one safe example ready for the technician.
-
Do not send passwords, one-time codes, alarm codes, private keys, or remote-access credentials in the ticket.
3
Workflow section 3 of 6
Understand viewer display and keyboard controls
-
Fit scales the complete remote screen to the available viewer area; the entire desktop stays visible, but text may appear smaller.
-
Fixed scaling keeps the selected viewer scale instead of continually fitting the complete screen; scrolling or panning may be needed to reach areas outside the visible frame.
-
Full screen expands the viewer workspace for the technician but does not by itself change the remote computer display resolution.
-
Ctrl+Alt+Delete sends the protected Windows security command to the remote computer so the authorized technician can reach the sign-in or Windows security screen.
-
Ctrl+Shift+Esc opens Task Manager on the remote computer for authorized process and performance troubleshooting.
-
Ask the technician to explain before using a control that could sign out a user, change a security state, end a task, restart an application, or interrupt work.
4
Workflow section 4 of 6
Verify and participate in the session
-
Confirm the technician is working from the expected DSE ticket or scheduled contact before approving an attended request.
-
Describe the symptom and reproduce it only when that is safe for people, property, data, and business operations.
-
Stay available for questions and watch the screen when the support plan calls for an attended session.
-
Type your own password or one-time code into a verified Windows or application prompt when required; do not read or send the secret to the technician.
-
Ask the technician to explain any step that would restart a computer, stop a service, change access, or interrupt production.
5
Workflow section 5 of 6
Validate the result
-
Test the original task using a safe example while the technician is still available.
-
Confirm what was fixed, what remains, whether a restart or follow-up is required, and who owns the next action.
-
Ask the technician to end the remote session when work is complete.
-
Review the ticket update and reply with customer validation or any remaining symptom.
6
Workflow section 6 of 6
Finish and verify endpoint support
-
Confirm the endpoint status, remote-session state, and original symptom after the approved action.
-
Save customer work, have the technician select Clear secure relay after clipboard transfer, and lock Windows when stepping away.
-
Keep all follow-up on the same DSE-###### ticket for the same issue.
-
Report unexpected remote activity, missing tray status, or a failed validation immediately.
Final verification
Before you leave this guide
- Confirm context. Recheck the DSE domain, signed-in account, company or site, ticket number, device, and request type shown on screen.
- Confirm the result. Perform one harmless verification and make sure the visible status matches what you expected.
- Keep the reference. Save the DSE-###### ticket number, confirmation, or other safe reference needed to continue the same conversation.
- Stop on a mismatch. Do not repeat a high-impact action. Preserve a safe screenshot, note the time and exact error, refresh once, and update or open the correct DSE ticket.
Content owner: DSE Service Operations. Production reviewed July 16, 2026. Examples and visuals are customer-safe and use fictional data.