

New request
Open a Support Ticket
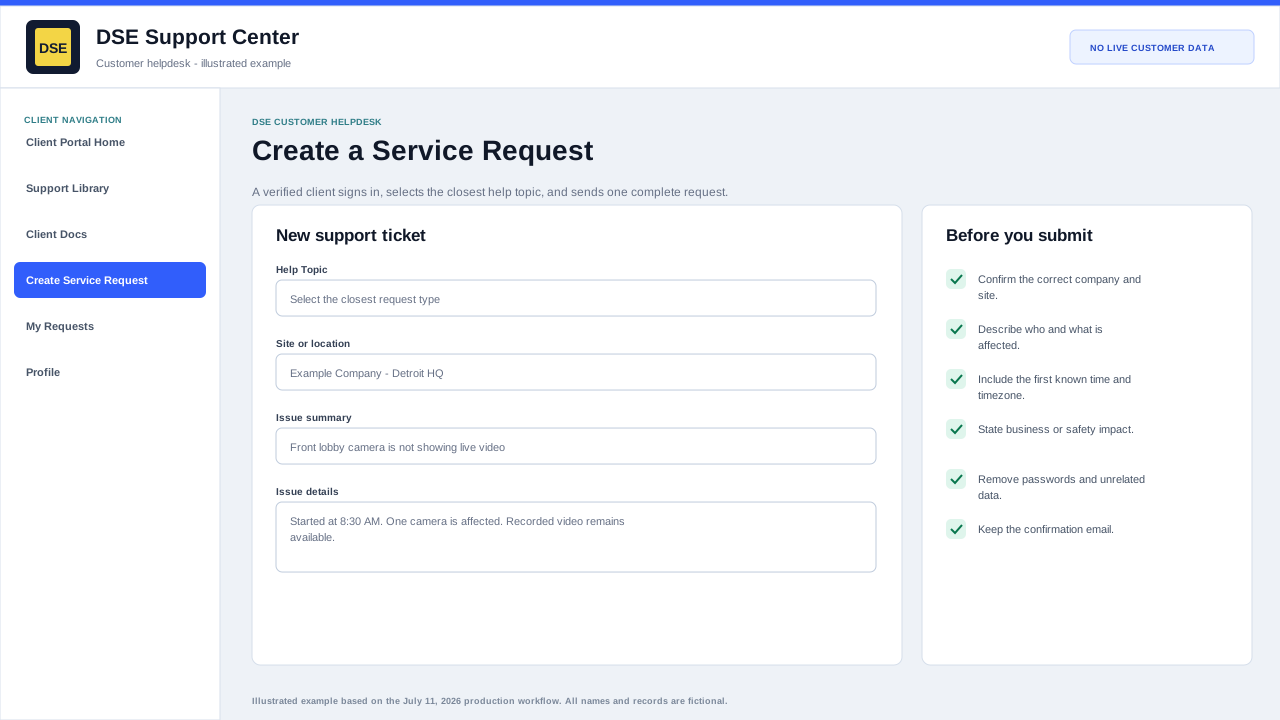
Signed-in clients use the Open Ticket page to send DSE a new service request with the details needed to triage and route the work.
Production address
https://helpdesk.dsesecurity.com/
Confirm HTTPS and the exact domain before entering account or ticket information.
Visual walkthrough
Open any visual for a full-size reference
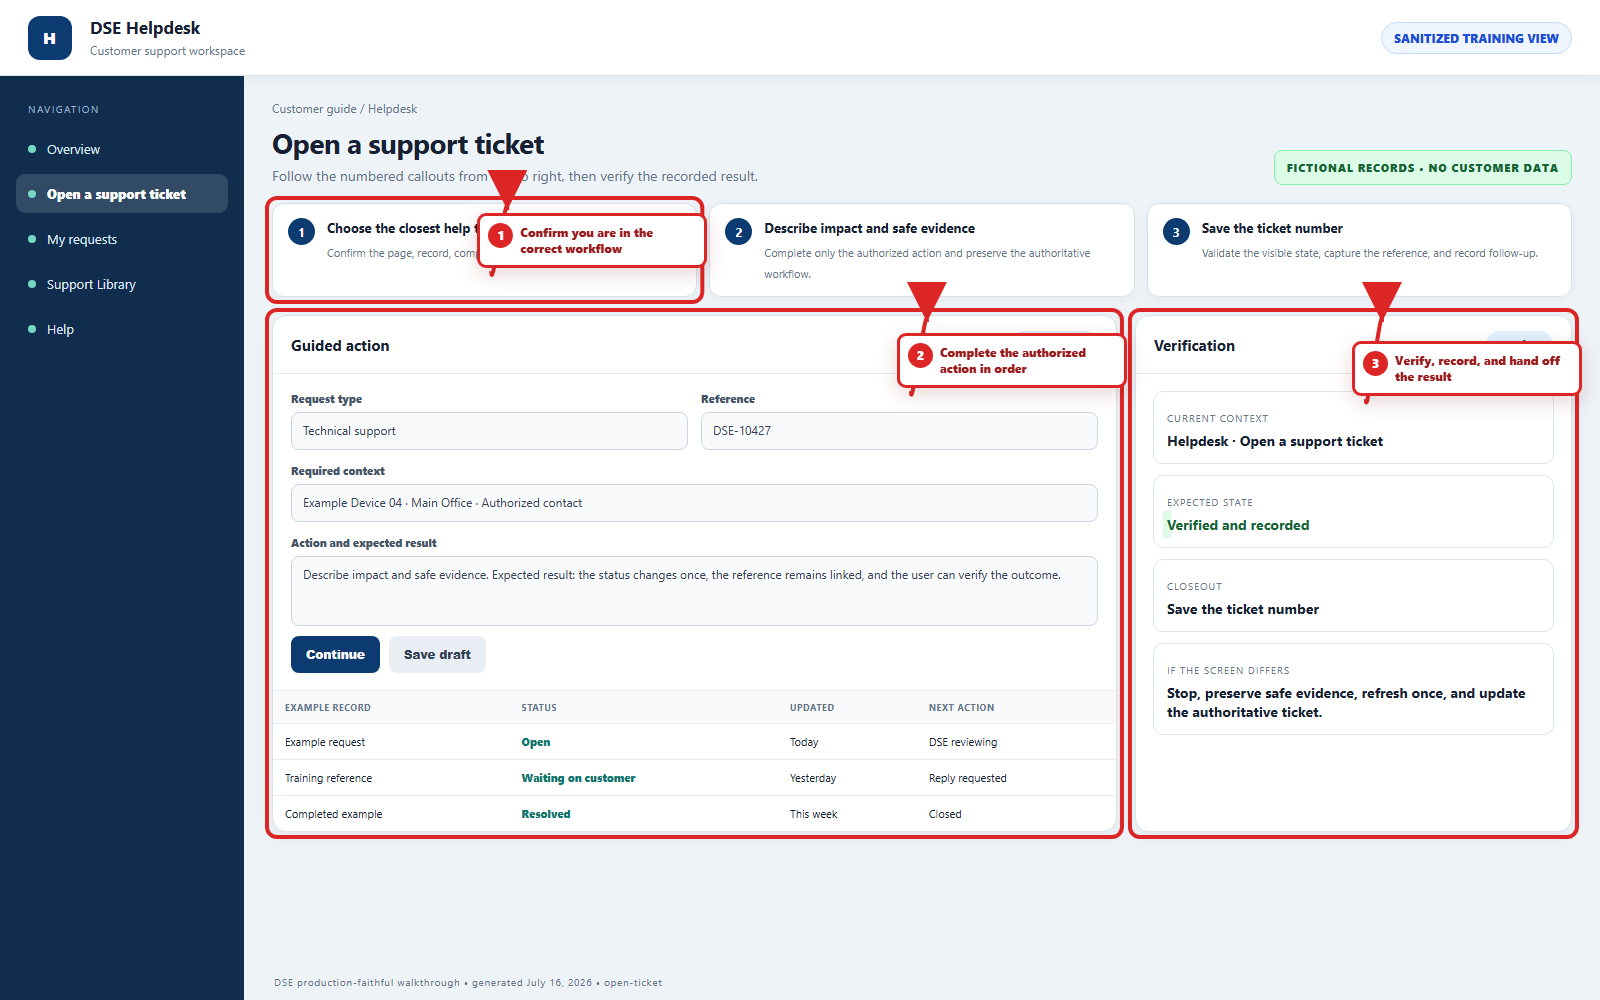
The annotated screenshot uses numbered red boxes and arrows. Read callouts 1, 2, and 3 in order, then return to the written steps below for the complete procedure.
 Open full size
 Open full size
 Open full size
1
Workflow section 1 of 5
Before the ticket form opens
-
Create and verify your individual client account if you have not already done so.
-
Sign in at https://helpdesk.dsesecurity.com/login.php. The Create Service Request link takes signed-out visitors to this secure sign-in step.
-
Have your company, exact site, callback number, first known time, affected people or devices, impact, and safe evidence ready.
2
Workflow section 2 of 5
Submit and verify the request
-
Confirm the requester, company, and site when those values are shown.
-
Choose the closest help topic, write a concise subject, and describe the issue in complete sentences.
-
Attach only relevant redacted files and wait until every filename appears in the form.
-
Review once, submit once, and wait for the confirmation page and email.
-
Open My Requests or Check Request Status before resubmitting when a confirmation is delayed.
3
Workflow section 3 of 5
Information to include
-
Site name, building, suite, or location.
-
Affected user, workstation, camera, door, panel, device, or service.
-
What is happening and when it started.
-
Whether the issue affects one person, one device, one site, or everyone.
-
Screenshots, photos, error messages, or example timestamps when available.
4
Workflow section 4 of 5
How to submit
-
Sign in with the verified email address for your DSE client account.
-
Select Create Service Request or Open a New Ticket.
-
Complete the required contact and ticket fields.
-
Choose the closest help topic or request type available.
-
Describe the issue clearly and attach supporting files if needed.
-
Submit the request and keep the confirmation email for your records.
5
Workflow section 5 of 5
Finish and verify the customer action
-
Wait for the confirmation page, updated conversation, email, or account message before repeating the action.
-
Confirm the customer, company, site, DSE-###### ticket, and visible status are the ones you intended.
-
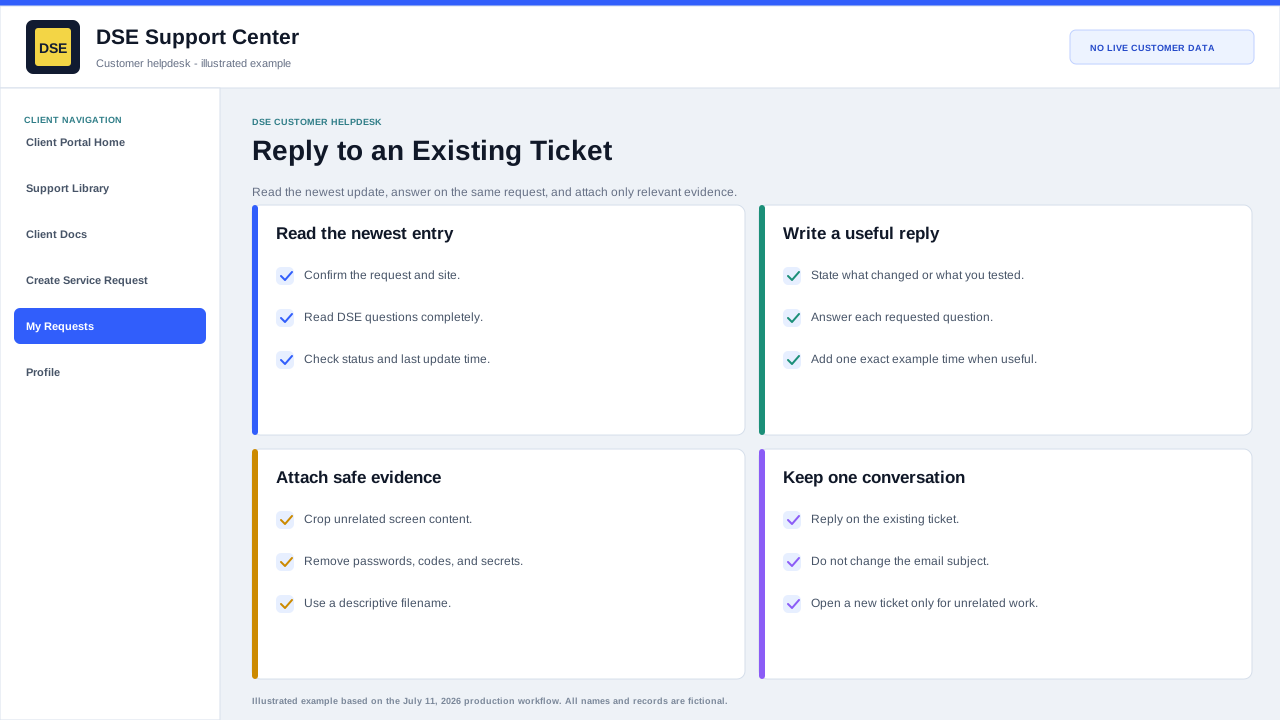
Save the confirmation or reply on the same ticket when more information is needed.
-
Contact DSE immediately if account or ticket visibility includes unrelated customer information.
Final verification
Before you leave this guide
- Confirm context. Recheck the DSE domain, signed-in account, company or site, ticket number, device, and request type shown on screen.
- Confirm the result. Perform one harmless verification and make sure the visible status matches what you expected.
- Keep the reference. Save the DSE-###### ticket number, confirmation, or other safe reference needed to continue the same conversation.
- Stop on a mismatch. Do not repeat a high-impact action. Preserve a safe screenshot, note the time and exact error, refresh once, and update or open the correct DSE ticket.
Content owner: DSE Service Operations. Production reviewed July 16, 2026. Examples and visuals are customer-safe and use fictional data.