

Endpoint agent
Use the DSE Tray Icon and Request Help
Use the DSE Endpoint Agent icon in the Windows notification area to open Machine Status, read the exact protection state, refresh status, copy device information, or reach the DSE helpdesk.
Production address
https://helpdesk.dsesecurity.com/
Confirm HTTPS and the exact domain before entering account or ticket information.
Visual walkthrough
Open any visual for a full-size reference
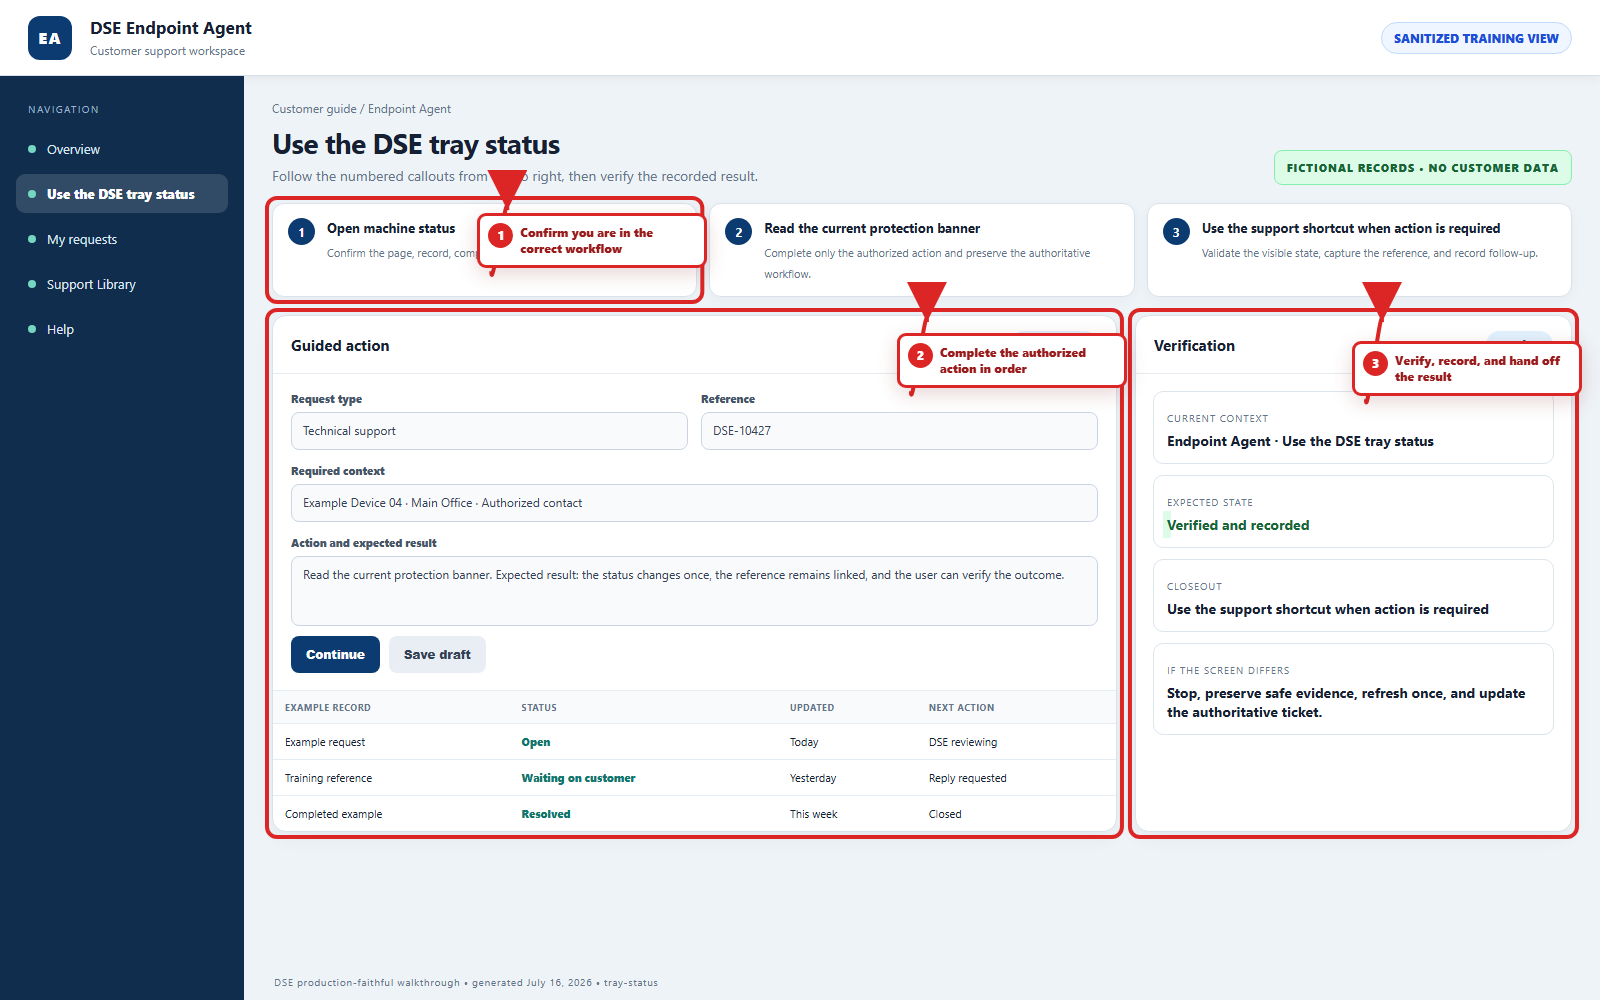
The annotated screenshot uses numbered red boxes and arrows. Read callouts 1, 2, and 3 in order, then return to the written steps below for the complete procedure.
 Open full size
 Open full size
 Open full size
1
Workflow section 1 of 6
Find the DSE icon
-
Go to the Windows taskbar and look beside the clock in the notification area.
-
If the DSE icon is not immediately visible, select the upward arrow or Show hidden icons.
-
Point to the DSE icon and confirm the label identifies the DSE Endpoint Agent.
-
If more than one user is signed in, complete these steps in the Windows session where support is needed.
2
Workflow section 2 of 6
Open Machine Status
-
Left-click the DSE tray icon to open Machine Status.
-
Read the tray tooltip/status state: Protected, Attention recommended, Action required, Offline, or Status pending.
-
Read the expanded card banner: PROTECTED, CHECK RECOMMENDED, ACTION REQUIRED, AGENT OFFLINE, or STATUS PENDING. CHECK RECOMMENDED is the card label for Attention recommended, and AGENT OFFLINE is the card label for Offline.
-
Review the status card for risk score, open alerts, last check-in, hostname, device ID, organization, and assignment.
-
Use the hostname, device ID, organization, and assignment to confirm you are looking at the intended computer before reporting an issue.
4
Workflow section 4 of 6
Create a useful request from the shortcut
-
Choose Open a support ticket and sign in with your verified client account if the helpdesk asks you to authenticate.
-
Describe the affected computer, signed-in user, site, symptom, first known time, and current business impact.
-
Include the exact tray state, risk score, open alerts, last check-in, and hostname when those details are relevant.
-
Submit once, keep the DSE-###### confirmation number, and reply on that same ticket with later changes.
5
Workflow section 5 of 6
If the icon is missing or was exited
-
Check Show hidden icons and Windows notification-area settings before assuming the endpoint agent is absent.
-
Remember that Exit DSE tray closes only the tray application; it does not uninstall the agent or stop the background endpoint service.
-
Restart only the affected Windows sign-in session if that is safe for your work; do not uninstall, reinstall, or stop the agent yourself.
-
Open the DSE helpdesk directly or email helpdesk@detection-systems.com and report that the tray icon is missing.
-
Include the computer name when known, the current user, site, time noticed, and whether the computer still has normal network access.
6
Workflow section 6 of 6
Finish and verify endpoint support
-
Confirm the endpoint status, remote-session state, and original symptom after the approved action.
-
Save customer work, have the technician select Clear secure relay after clipboard transfer, and lock Windows when stepping away.
-
Keep all follow-up on the same DSE-###### ticket for the same issue.
-
Report unexpected remote activity, missing tray status, or a failed validation immediately.
Final verification
Before you leave this guide
- Confirm context. Recheck the DSE domain, signed-in account, company or site, ticket number, device, and request type shown on screen.
- Confirm the result. Perform one harmless verification and make sure the visible status matches what you expected.
- Keep the reference. Save the DSE-###### ticket number, confirmation, or other safe reference needed to continue the same conversation.
- Stop on a mismatch. Do not repeat a high-impact action. Preserve a safe screenshot, note the time and exact error, refresh once, and update or open the correct DSE ticket.
Content owner: DSE Service Operations. Production reviewed July 16, 2026. Examples and visuals are customer-safe and use fictional data.